Creating a Simple ChatGPT Wrapper Web Application
Hey everyone! I'm Buddhsen Tripathi, and I'm here to guide you through creating a simple web application that wraps around OpenAI's ChatGPT API. This application will allow you to interact with ChatGPT in a user-friendly web interface. Let's get started.
Prerequisites#
Before we dive in, make sure you have the following:
- Basic understanding of HTML, CSS, and JavaScript
- Basic knowledge of Python and APIs
- An OpenAI API key (You can get one by signing up on the OpenAI platform)
Note: OpenAI API keys are free to obtain, but they require credits for you to actually make a call. You'll need to initially add $5 of credits to get started.
Step 1: Setting Up the Project#
First, create a new directory for your project and navigate into it:
mkdir chatgpt-wrapper
cd chatgpt-wrapper
Install the required libraries and create an app.py file:
# Assuming you've python 3 installed
pip install Flask Flask_cors
touch app.py
Step 2: Creating a Simple Flask Application#
In your app.py file, write the following code to set up your Flask application, which will make OpenAI API calls:
from flask import Flask, request, jsonify
from flask_cors import CORS
from openai import OpenAI

app = Flask(__name__)
CORS(app)  # Enable CORS


client = OpenAI(
    api_key='your-openAPI-key',
)

@app.route('/chat', methods=['POST'])
def chat():
    user_message = request.json.get('message')

    try:
        response = client.chat.completions.create(
            messages=[
                {
                    "role": "user",
                    "content": user_message,
                }
            ],
            model="gpt-3.5-turbo",
        )
        print(response)
        reply = response.choices[0].message.content
        return jsonify({'reply': reply})
    except Exception as e:
        print(f"Error: {e}")
        return jsonify({'error': 'Error communicating with ChatGPT'}), 500

if __name__ == '__main__':
    app.run(port=5000, debug=True)
Replace 'your-openai-api-key' with your actual OpenAI API key.
Step 3: Creating the Frontend#
In your project directory, create an index.html file:
<!DOCTYPE html>
<html lang="en">
<head>
    <meta charset="UTF-8">
    <meta name="viewport" content="width=device-width, initial-scale=1.0">
    <title>ChatGPT Web App</title>
    <style>
        body {
            font-family: Arial, sans-serif;
            display: flex;
            justify-content: center;
            align-items: center;
            height: 100vh;
            margin: 0;
            background-color: #f4f4f4;
        }
        .container {
            text-align: center;
        }
        textarea {
            width: 300px;
            height: 100px;
            margin-bottom: 10px;
        }
        button {
            padding: 10px 20px;
            font-size: 16px;
            cursor: pointer;
        }
        .response {
            margin-top: 20px;
            font-size: 18px;
        }
    </style>
</head>
<body>
    <div class="container">
        <h1>ChatGPT Web App</h1>
        <textarea id="userInput" placeholder="Type your message..."></textarea>

        <button onclick="sendMessage()">Send</button>
        <div class="response" id="response">


    <script>
        async function sendMessage() {
            const message = document.getElementById('userInput').value;
            const responseDiv = document.getElementById('response');

            try {
                const response = await fetch('http://localhost:5000/chat', {
                    method: 'POST',
                    headers: {
                        'Content-Type': 'application/json',
                    },
                    body: JSON.stringify({ message }),
                });

                if (!response.ok) {
                    throw new Error(`HTTP error! status: ${response.status}`);
                }

                const data = await response.json();
                responseDiv.textContent = data.reply;
            } catch (error) {
                console.error('Error:', error);
                responseDiv.textContent = 'Error communicating with server';
            }
        }
    </script>
</body>
</html>
You can create separate files named 'styles.css' for styling and 'script.js' for JavaScript code to improve readability.
Step 4: Running the Application#
Now, run this command to start your Flask application, which will run on port 5000:
python app.py
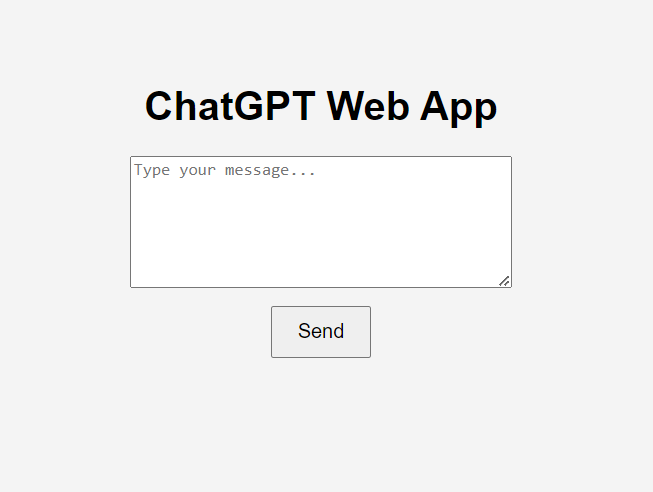
Open the index.html file in your web browser. It should look like this:
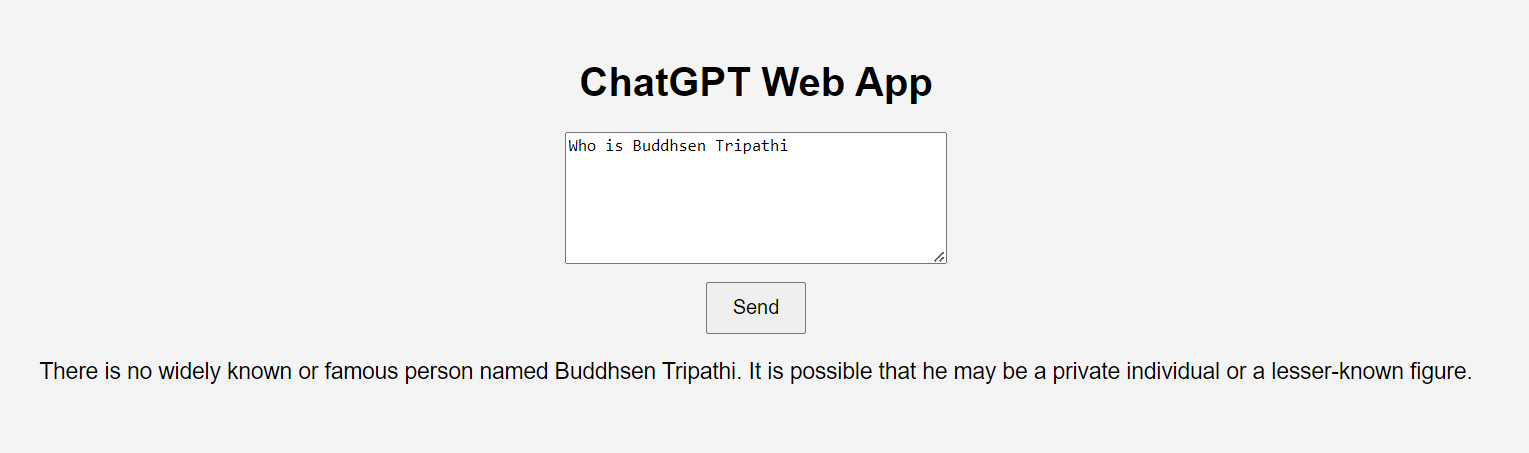
Type any prompt and click send. You can view the response at the bottom.
Congratulations! You've just built a simple ChatGPT wrapper web application. This basic setup can be expanded with more features and improved UI to create a more robust and user-friendly application.
Stay tuned for more tech content and tutorials. Feel free to connect with me on my socials and provide feedback.
stay updated.
It's free! Get notified instantly whenever a new post drops. Stay updated, stay ahead.