Making API Calls with DeepSeek vs. OpenAI: Key Differences
DeepSeek and OpenAI offer powerful AI models, but their API implementations have key differences. In this guide, we'll compare how to make API calls to both and highlight the differences.
Setting Up API Access#
OpenAI
- Sign up on OpenAI's website.
- Generate an API key from the OpenAI dashboard.
- Use the key in your requests.
DeepSeek
- Sign up at DeepSeek.
- Generate an API key from the DeepSeek platform.
- Use the key in your requests.
Making API Calls: DeepSeek vs. OpenAI#
Install the OpenAI npm package using this command.
npm install openai
OpenAI API Call Example
import OpenAI from "openai";

const openai = new OpenAI({
  apiKey: process.env.OPENAI_API_KEY, //replace it with your openai api key
});
async function getOpenAIResponse(prompt){
    try {
        const chatCompletion = await openai.chat.completions.create({
        messages: [{ role: 'user', content: prompt }],
        model: 'gpt-4', // Specify model to use
    });

    console.log("OpenAI Response:", chatCompletion.choices[0].message.content);
    } catch (error) {
        console.error("Error with OpenAI API:", error);
    }
}
- We import the
openaipackage and initialize it with an API key from environment variables. - The
getOpenAIResponsefunction takes a prompt and sends a request to OpenAI'schat.completions.create()endpoint. - It specifies the model (
gpt-4) and returns the AI's response. - Errors are caught and logged to the console.
OpenAI API Output
getOpenAIResponse("What is quantum computing?");

DeepSeek API Call Example
import OpenAI from "openai";

const deepseek = new OpenAI({
  baseURL: "https://api.deepseek.com/v1",
  apiKey: process.env.DEEPSEEK_API_KEY, //replace it with your deepseek api key
});

async function getDeepSeekResponse(prompt) {
  try {
    const chatCompletion = await deepseek.chat.completions.create({
      messages: [{ role: "user", content: prompt }],
      model: "deepseek-chat",
    });

    console.log("DeepSeek Response:", chatCompletion.choices[0].message.content);
  } catch (error) {
    console.error("Error with DeepSeek API:", error);
  }
}
- The
openaipackage is used again, but we overridebaseURLto point to DeepSeek's API. - The function structure is identical to OpenAI's.
- Instead of
"gpt-4", we use DeepSeek's"deepseek-chat"model. - Why override
baseURL? Because DeepSeek mimics OpenAI's API format, so we use the sameopenailibrary.
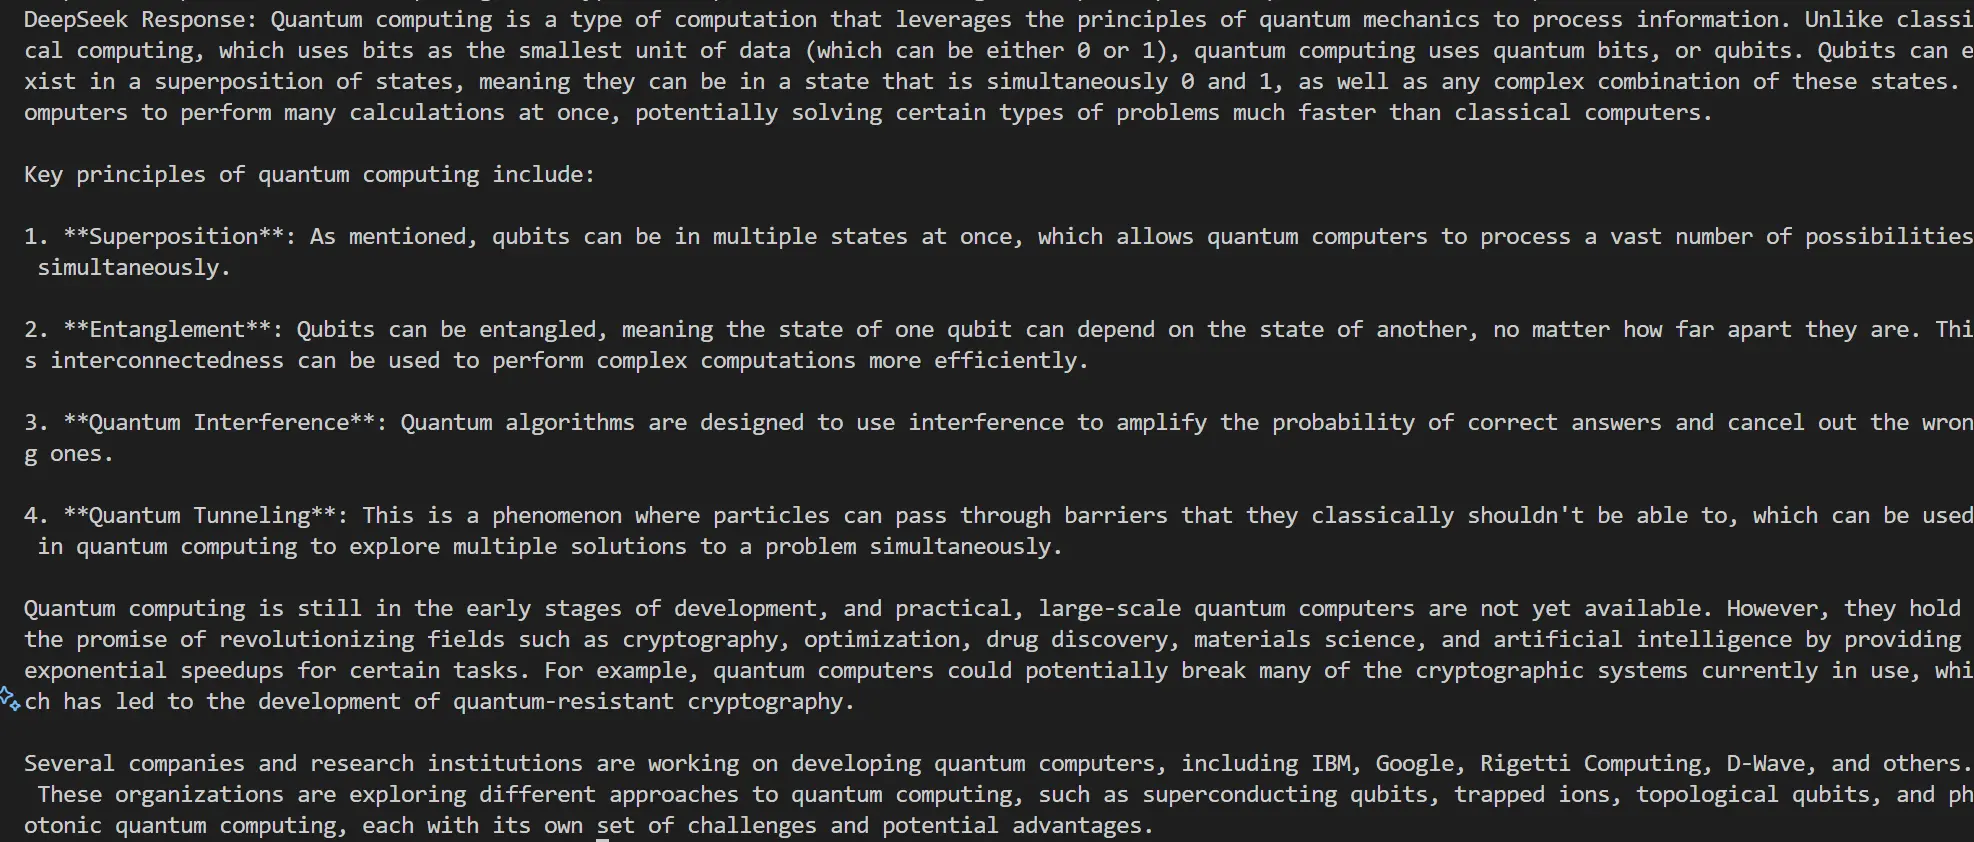
DeepSeek API Output
getDeepSeekResponse("What is quantum computing?");
Key Differences#
| Feature | OpenAI API | DeepSeek API |
|---|---|---|
| Endpoint | https://api.openai.com/v1/chat/completions | https://api.deepseek.com/v1/chat/completions |
| Authentication | API Key via apiKey | API Key via apiKey with baseURL override |
| Request Format | JSON with messages list | JSON with messages list |
| Model Options | gpt-4, gpt-3.5-turbo, etc. | deepseek-chat |
| Cost & Rate Limits | Varies based on model & usage | Typically lower cost alternative |
Which One to Use?#
If you're looking for cutting-edge AI models with better reasoning, OpenAI is your best bet. But if you want a cheaper alternative that works almost the same way, DeepSeek is a great choice.
Both APIs use a similar format, so switching between them is easy, just change the base URL and model name. If you're building an app, you can even add a toggle to switch between the two.
At the end of the day, it's your choice which one to use.
This guide should help you get started with DeepSeek and OpenAI in your JavaScript applications. Stay tuned for more tech content and tutorials. Feel free to connect with me on my socials and provide feedback.
stay updated.
It's free! Get notified instantly whenever a new post drops. Stay updated, stay ahead.